The Secrets of Glazing: From Glossy to Matte and Transparent Surfaces


The Secrets of Glazing: From Glossy to Matte and Transparent Surfaces
Glaze is the alchemy of ceramics—the thin, glassy layer that transforms raw clay into a luminous, matte, or transparent surface. Behind every beautiful finish lies a delicate balance of chemistry, temperature, and technique. For potters and ceramic artists, understanding how glazes work is key to creating pieces that are both expressive and durable. Let’s explore how glazes function and how you can work with them—from mirror-like gloss to soft matte and crystal-clear transparency.
What Exactly Is a Glaze?
At its core, a glaze is a thin, glass-like coating that fuses with the clay body during firing. It’s made up of three main components:
- Glass formers – usually silica, which creates the glassy structure.
- Fluxes – such as feldspar, calcium, or sodium compounds, which lower the melting point.
- Stabilizers – like clay or alumina, which help control the glaze’s flow during firing.
Colorants—metal oxides or ceramic stains—are added to achieve specific hues and effects. The combination of these ingredients, along with the firing temperature and atmosphere, determines whether the glaze ends up glossy, matte, or transparent.
From Glossy to Matte – The Play of Light and Texture
The difference between a glossy and a matte glaze is all about how the surface interacts with light. A glossy glaze is smooth, reflecting light directly and creating a sense of depth and brilliance. A matte glaze, on the other hand, has microscopic irregularities that scatter light, producing a softer, more subdued look.
- Glossy glazes: Bright, reflective, and ideal for functional ware like mugs and bowls because they’re easy to clean and highlight color and detail.
- Matte glazes: Subtle and contemporary, with a tactile, velvety feel. They require precise firing to avoid rough or uneven surfaces.
- Satin or semi-matte glazes: A middle ground that offers a gentle sheen without the high shine—often favored for sculptural or decorative pieces.
Achieving the desired finish often takes experimentation. Even small changes in recipe, firing schedule, or application thickness can dramatically alter the result.
Transparent Glazes – Letting the Clay Speak
A transparent glaze acts like a window, sealing and protecting the surface while allowing the clay’s natural color and texture to show through. It’s especially popular for stoneware and porcelain, where the body itself has a beautiful tone.
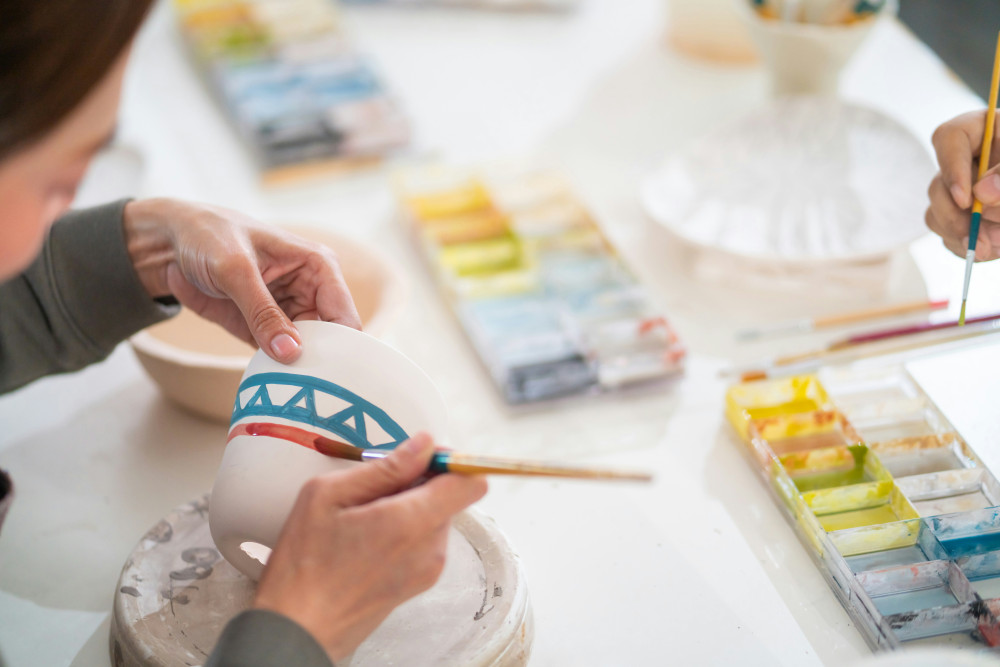
Transparent glazes are often used to enhance carved designs, underglaze painting, or slip decoration. Depending on the oxides used, they can be crystal clear or have a faint tint—green, blue, or amber. If a transparent glaze turns cloudy or milky, it’s often due to too much alumina or an overly high firing temperature—an example of how chemistry and heat work hand in hand.
The Chemistry of Glaze – Small Changes, Big Effects
Though glaze work can feel like magic, it’s really a precise chemical system. The ratio between silica, fluxes, and stabilizers determines how the glaze melts and bonds to the clay.
- Too much flux can cause the glaze to run or pool.
- Too little flux can leave a dry, rough surface.
- Too high a temperature can make a matte glaze turn glossy.
- Too low a temperature can result in a chalky, underfired finish.
That’s why many ceramic artists keep detailed glaze notebooks, recording recipes, firing curves, and results. These notes make it possible to replicate successes—and learn from surprises.
Experimenting with Layers and Combinations
One of the most exciting aspects of glazing is layering. When two or more glazes melt together, they can create unexpected effects: colors that blend, crystals that form, or textures that resemble stone or metal.
Try applying a transparent glaze over a colored matte base, or dripping a thin glaze over a thicker one to create movement. Just remember that layered glazes can react unpredictably, so always test on small tiles before applying to finished work.
From Theory to Practice – Getting Started
If you’re new to glazing, here are a few practical tips:
- Start with commercial glazes – They’re reliable and help you learn how different firing temperatures affect results.
- Make test tiles – Use the same clay body as your main work to see how the glaze truly behaves.
- Take notes – Record temperature, thickness, firing time, and results. Your notes are your best teacher.
- Be patient – Glazing is a process of trial and discovery. Even experienced potters are still surprised by what comes out of the kiln.
Læs også:


The Poetry of the Kiln
When the kiln reaches its peak temperature, something almost poetic happens. Colors shift, surfaces transform, and the unpredictable becomes part of the art. That blend of control and chance is what makes glazing so captivating.
Whether you’re drawn to glossy brilliance, soft matte finishes, or the quiet clarity of transparency, glazing is about finding your own balance between technique and intuition—and letting the heat of the kiln reveal the secrets hidden in the glaze.
Læs også: